
The brake pump has the function of distributing the hydraulic force exerted by the brake servo to all calipers within the brake system.
As a component within the braking system of our vehicle, the brake master cylinder contains and stores brake fluid, allowing the force used to brake the vehicle to be transmitted to the wheel cylinders of the car.
It may happen that, on certain occasions, brake pump components have to be replaced by other parts in better condition, due to wear and tear, producing a leak, for example. That is why, in this post by Frenkit, a company specialised in manufacturing and distributing brake pump components, we tell you step by step how to disassemble a brake master cylinder and make the perfect disassembly.
Maintenance of a brake pump and when to dismantle it
There are many situations in which it is necessary to remove the brake pump from the vehicle. It is important to bear in mind that a faulty brake pump can be dangerous for the driver's, as it increases the chances of the car breaking down.
It is therefore essential to carry out regular inspections of the brake pump or master cylinder system and all its components, and also to check the brake fluid in the vehicle from time to time.
One of the most common brake pump failures is the fault of the rubber seals due to wear, poor maintenance or contamination of the braking system. In this case, it happens that the brake pump cannot exert the necessary pressure for the system to work properly and bring the vehicle to a standstill.
How to dismantle a brake pump
If you notice any signs that your master cylinder is going bad, you will need to repair the brake pump yourself or replace it. In order to repair a brake pump correctly, it is necessary to know how to disassemble it and how to change a master cylinder beforehand. In addition, we will need a flat-blade screwdriver, circlip pliers and a vice to make the operation easier. Each brake pump has some very important steps to follow for its correct maintenance, here we describe on in general:
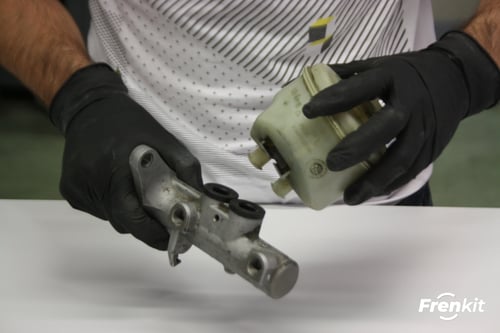
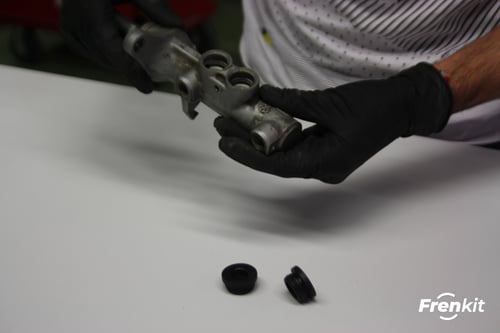
Separate the gasket and remove the plugs
The first step we need to carry out to disassembly the master cylinder is to remove the brake pump gasket before proceeding to remove further parts. In addition, it is also necessary to remove the plugs that make up the master cylinder. This can be done with the help of a flat-blade screwdriver.
Remove the washer and take off the clamping ring
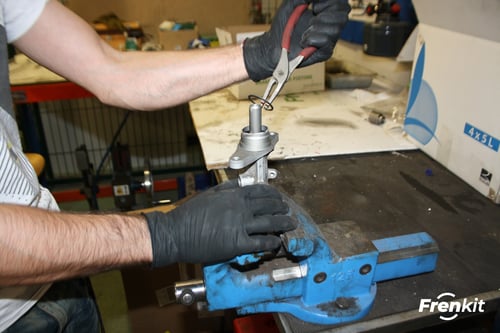
The washer can be removed quickly and easily, as it is not attached to the brake pump. However, in order to remove the nipple, it is necessary to hold the brake pump securely in place. To do this, we can use a clamp and remove it with the help of pliers.
Remove the piston and parts
With the brake pump held in the clamp, we can remove the piston and uncouple it from the brake pump by exerting force and pulling it upwards. Using the flat-blade screwdriver that we used to remove the gasket and plugs, we can separate all the parts that make up the piston.
Press the inner piston to extract the pin and remove the piston
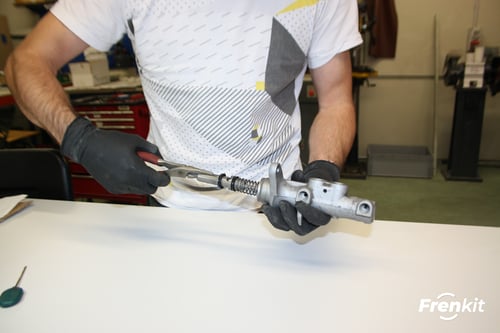
To remove the pin and the inner piston, hold the brake pump firmly and use the screwdriver to press the inside of the pump to remove the pin. The next step is to remove the inner piston from the master cylinder using a pair of pliers or your fingers.
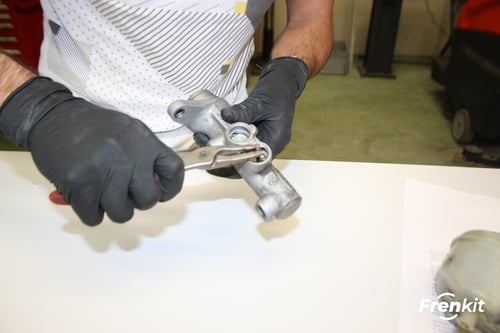
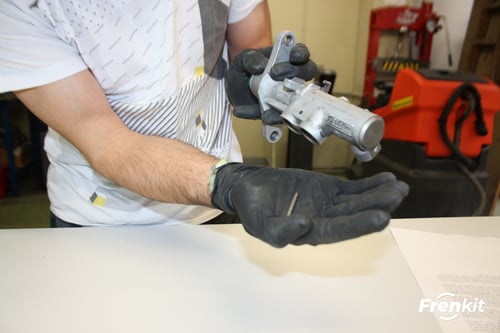
Remove the piston parts
The same step we followed with the piston, but this time we remove the internal piston parts. Here we can also use a punch or a flat-blade screwdriver to separate the calipers. In addition, to remove the spring that makes up the inner caliper, we will need an allen key.
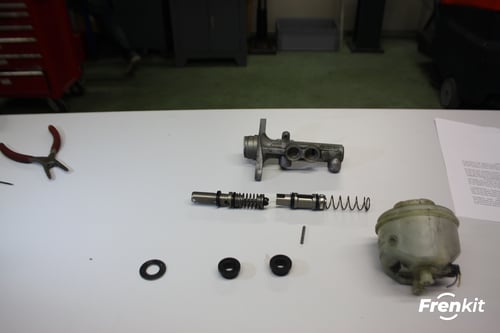
If you found this post about how to replace master cylinder useful, at Frenkit we have a Development Department that permanently creates new kits for new models and vehicle parts. Also on this blog we tell you everything you need to know about brake systems, such as how to disable electronic parking brake.
Are you a professional or do you repair your own car? Don’t hesitate and access our user area and find the reference you need.


![[Learn about the advantages and disadvantages of self-repairing your car's brake caliper and master cylinder]](https://no-cache.hubspot.com/cta/default/7520036/643aa925-77a2-4e45-8bab-b85ba379e6cb.png)
