The drum brake is composed of several elements such as: the outer and inner part of the brake drum, brake plate, brake shoes, hydraulic cylinders and a reset system.
Like any other braking system on the market, drum brakes also suffer from wear and tear as they are used. Replacing these parts with new ones in perfect condition is not difficult, but requires attention, caution and the use of the right tools.
If you want to find out why it is important to know how to change drum brakes, what are the steps to change the drum brakes of your vehicle and what tools you will need to do it correctly, don't miss this post by Frenkit!

Why replace drum brakes
Drum brakes are an essential component of our vehicle's braking system. If the car's brakes do not work properly, the vehicle will brake poorly or may not even stop at all, causing accidents.
Avoiding hitting a pedestrian, running off the road or colliding with another vehicle will depend to a large extent on whether we can stop our vehicle in time and as safely as possible. If our car's drum braking system is working properly at the time, the braking manoeuvre will be successful and will not end in an accident.
The average life of a rear drum brake is 250,000-300,000 kilometres. However, the service life of the drum brake kit is 100,000 kilometres. In addition, it is advisable to dust and inspect every 60,000 kilometres, so it's important to know when do drum brakes need to be replaced.
7 steps to change drum brakes
According to a Roadhouse study, "97% of drivers consider brakes to be the most important safety system, but only 13.5% would be able to detect if their braking system had problems".
Correct maintenance of the brake drum will allow us to prolong the life of the drum brake parts and thus ensure that they work properly. That is why, below, we tell you how to change drum brakes:
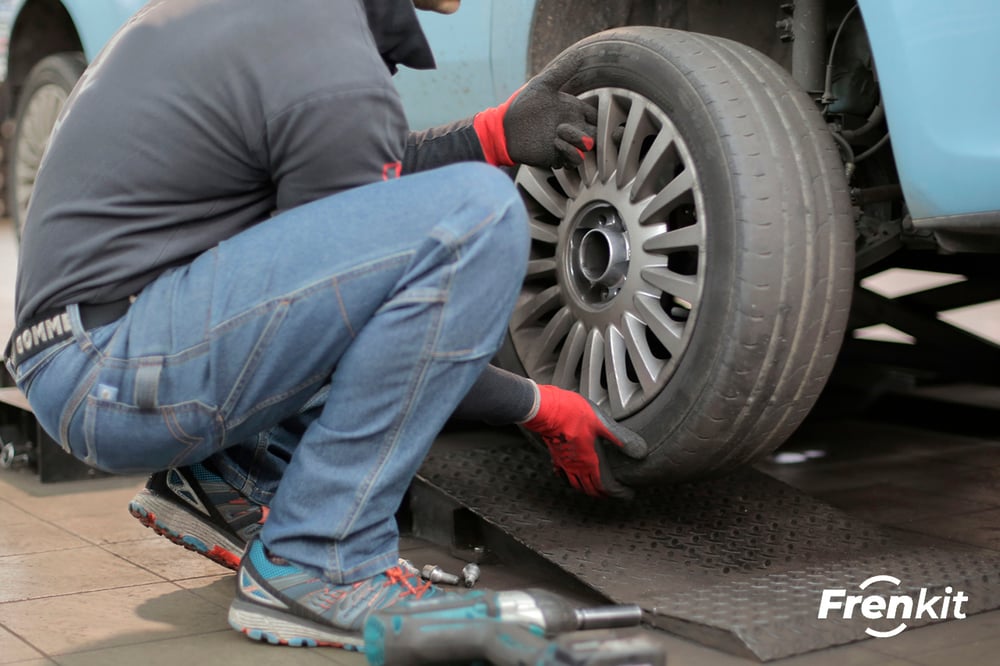
Removing the wheel
The first thing is to explain how to remove the drum brake. For this first step, the vehicle can be raised to make it easier to remove the wheel. If we cannot lift the vehicle, we can also use jack stands to help us remove the wheel. Once the wheel nuts have been removed with the aid of a wheel spanner, the wheel brake drum should be checked for possible defects at a glance.
Removing the brake drum
Once the wheel has been removed, the next step is to find and access the pipe and hose to inspect the condition of the drum brake hydraulic circuit. It is possible that we find rust or that the hose has a leak, if so we must replace it with a new one.
The next step is to unscrew the central nut that holds the drum brake to the wheel bearing. Then remove the brake drum, i.e. the visible outer part and the part that forms the rotating part of the brake system. If the drum is stuck, tap the drum with a rubber hammer and prise it out. In the event that it is very stuck, there is a tool called a brake drum extractor that will help us.
Removing the drum brake parts
The next thing to do is to disconnect the parking brake cable. Remember that you will have to place the new components of the drum brake in the same position as the old ones, so we recommend that you pay special attention to this point. Unhook the springs that hold the two brake shoes and eject the guide pins. Continue by removing the brake pads and adjusters if present.
The next part to be removed are the hydraulic cylinders. To do this, we must clamp the hose so that it does not leak and disconnect the fitting of the cylinders. Next, loosen the brake cylinder bolts, leaving the cylinder free. There may be a little brake fluid remaining in the piston, so it is important to be careful when removing it.
Cleaning the brake drum back plate
Once we have removed all the parts that make up the brake system, we must clean the rear part of the drum brake with water or a brake cleaner. In addition, we will have to check that it is not damaged, with no signs of corrosion and inspect the condition of the rivets.
At the same time, any areas of the back plate that are in contact with the brake pads, as they are subject to friction, should be coated with a thin layer of lubricant.
Replacing drum brake components
The next step is to replace the drum brake components with new ones. At Frenkit we have brake system repair kits available. We offer a complete range of repair kits for brakes and hydraulic clutch actuation elements.
With the new drum brake kit we replace the new fastening elements, the brake shoes and the hydraulic cylinders. Once the drum brake assembly has been completed, the parking brake cable must be reconnected.
Clean the brake drum
Before fitting the outer brake drum plate, it is important to clean it properly with a brass wire brush, as it may contain rust and dirt.
At some point, the brake drum may need to be replaced because the thickness of the inner part has worn outside the manufacturer's standards. If this happens, we can use a dial gauge to check the diameter of the drum. However, it is easier to change it every 250,000 kilometres.
Bleeding the brakes
The last step to take, once the brake drum has been fitted and secured, is to bleed the brakes. Make sure that there are no leaks in the system. Finally, we can fit the wheel and tighten the nuts with the help of a torque spanner.
![[Find out which is better, to repair the drum brake or replace it completely]](https://no-cache.hubspot.com/cta/default/7520036/52ede870-d306-4567-a1ae-c090d6fc7367.png)
What tools do I need to change drum brakes?
Now that we know all the steps we need to take to remove the drum brakes of our vehicle correctly, let's take a look at some of the tools to change the brake drum:
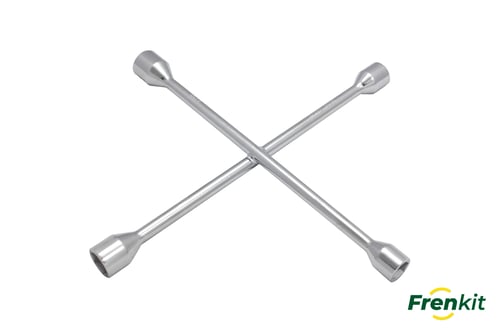
- Wheel spanner. A wheel spanner is a tool used to loosen or tighten the wheel nuts of cars by hand.
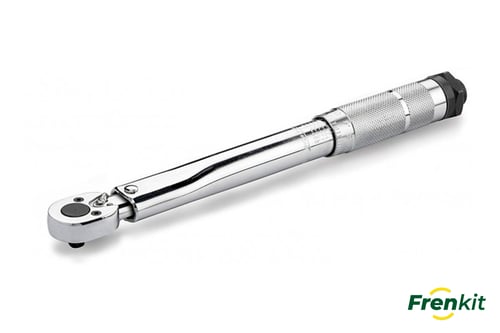
- Torque wrench. This hand tool applies two forces parallel and equal to each other on the brake system. It is used to tighten the bolts in order to set the correct torque.
- Brake drum puller. Used to remove thru axles, brake drums and wheel hubs, among other things. We use this tool if we have problems removing the drum.
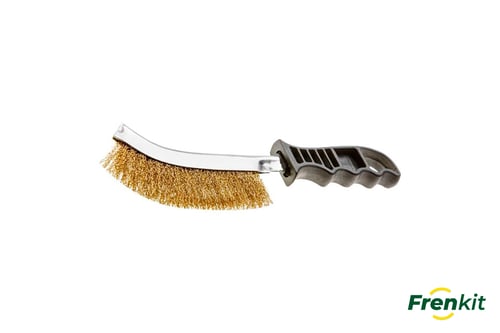
- Brass wire brush. With this brush we can clean and give a correct finish to metal surfaces, as well as remove rust.
If you found this post about the disassembly and replacement of drum brakes interesting, take a look at other posts on our blog like the one about how to how to disable electronic parking brake. At Frenkit we have a Development Department that is constantly creating new kits for new vehicle models and parts.
Are you a professional or do you fix your own car? Do not hesitate and access our user area where you will find the reference you need.