
Repairing your motorcycle brake calipers using a repair kit can be a rewarding task and, most importantly, it helps to maintain an efficient and safe braking system. Below, we provide you with a guide with the fundamental steps for repairing brake calipers using a kit:
 Step 1: Gather necessary tools and materials
Before you begin, make sure you have all the necessary tools and materials, which may include the repair kit, wrenches, screwdrivers, brake fluid, a container to collect the used fluid, and a repair manual for your motorcycle.
Step 2: Raise the motorcycle and remove the wheel
Raise the motorcycle using a paddock stand or a suitable support. Remove the wheel to gain easy access to the brake calipers.
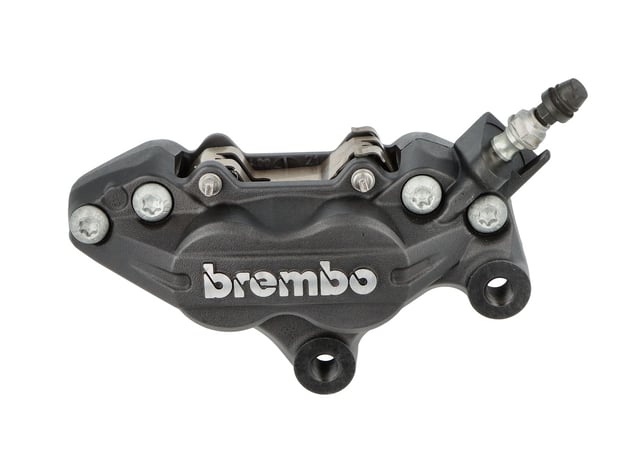
Step 3: Disassemble the brake calipers
Using the appropriate tools, disassemble the brake calipers from the fork or swingarm. Remove the brake pads and be careful not to damage any components during this process.
Step 4: Cleaning the parts
Clean all disassembled parts with a brake cleaner or suitable solvent. Pay special attention to the pistons and seals. Make sure there is no residue or dirt that could affect performance.
Step 5: Inspection of components
Visually inspect the pistons, seals, and other components for signs of wear or damage. If you find any component that appears defective, replace it with the parts from the repair kit.
Step 6: Component replacement
Following the manufacturer's and kit instructions, replace the seals, pistons, and other components with the new parts provided in the kit.
Step 7: Assembly of the brake calipers
Reassemble the brake calipers on the motorcycle, making sure to tighten the bolts and pins properly. Place the brake pads correctly.
Step 8: Bleeding the brake system (if necessary):
If the repair kit includes new brake fluid, or if you notice air in the system, bleed the system to remove any air bubbles. Follow the manufacturer's instructions.
Step 9: Reinstallation of the wheel and final adjustments
Reinstall the wheel and adjust any other necessary settings following the manufacturer's torque specifications. Verify that all components are properly installed and secured.
Step 10: Braking tests
Perform braking tests in a safe area before returning to the road. Make sure the brake calipers respond efficiently and there are no unusual noises or problems.
Step 11: Post-repair inspection
After a short period of use, perform a post-repair inspection to make sure everything is working properly. Pay attention to possible brake fluid leaks and verify that there are no performance anomalies.
By following these steps, you will be performing a complete and effective repair of your motorcycle's brake calipers using a repair kit. Always remember to consult your motorcycle's specific repair manual and follow the manufacturer's instructions and safety guidelines.